Did you ever receive a phishing email? If you work in technology or are interested in it, you probably have.
The best way to protect yourself from phishing emails is to use strict spam rules in your email client. These days, the good email providers like Gmail or Tutanota take care of that very well - and sometimes too well.
The side effect is that even legitimate crypto emails usually end up in the spam bin though. That is why it is important to whitelist the email addresses from which you actually want to receive messages.
- Whitelist your newsletter email addresses as soon as they send you the subscription confirmation.
- Leave everything else to fall into the spam folder.
Below is how to mark a sender as safe in Gmail, Apple Mail and Outlook.
How to safelist an email address in Gmail

In Gmail, start by adding the sender to your Contacts.
- Open an email with the sender you want to safelist
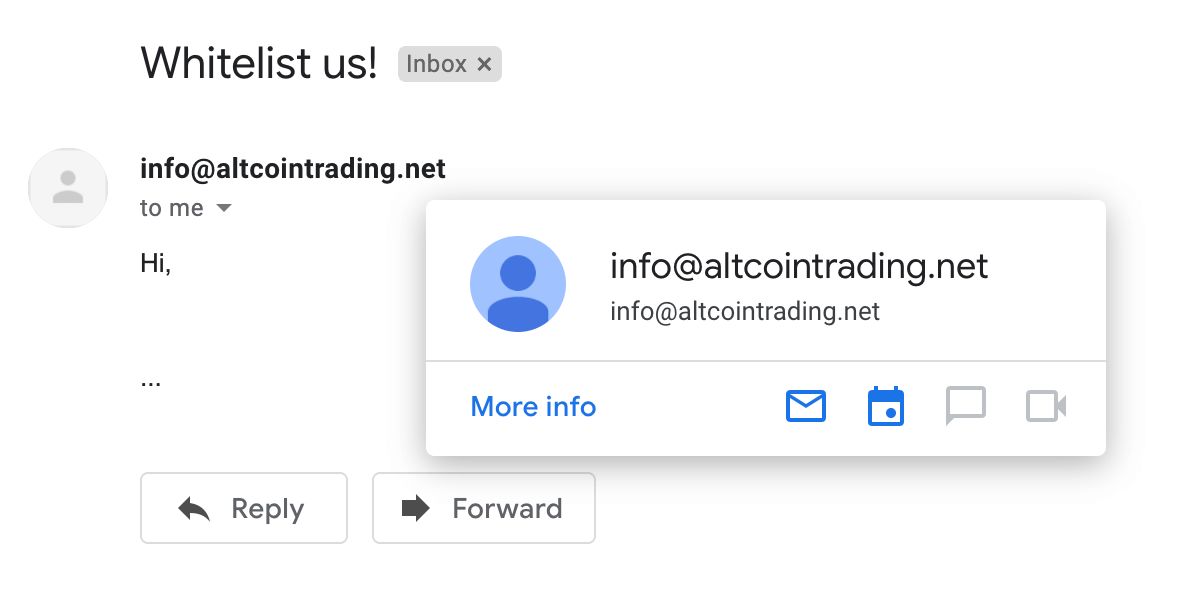
- Move the cursor over the From email address
- If the address is not in Contacts, Gmail will offer you to add it.
- Select Add to Contacts
In most cases, this will be enough to always receive emails from this sender.
Should an email still go to Spam, open it from there and select Report not spam.
How to safelist an email address in Apple Mail
In Apple Mail, safelist the email sender by adding them to Contacts.
- Open an email with the sender you want to safelist
- Click at the From email address
- Select Add to Contacts

Should an email still go to Junk, open it from there and move it to Inbox.

How to safelist an email address in Outlook
In MS Outlook, safelist the email sender by adding them to Safe Senders List.
- Open an email with the sender you want to safelist
- Go to the Message tab
- Choose Junk > Never Block Sender
Should an email still go to Junk Email folder:
- Open the email from Junk Email
- Go to the Message tab
- Choose Report Message > Not Junk
- Confirm the action in the dialog: Report as not junk? > Report
- Choose Junk > Never Block Sender